

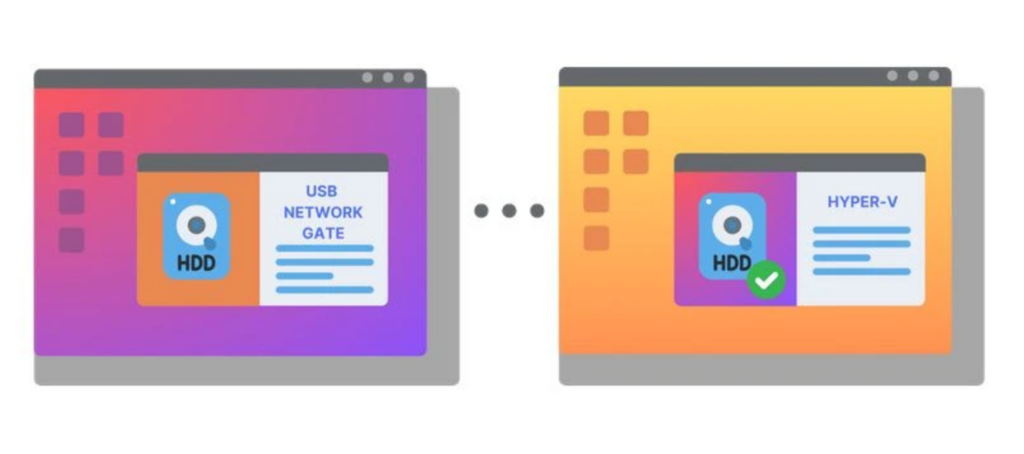
Redirecting USB devices to a Hyper-V virtual machine is one of the most common pain points in Windows virtualization, and one of the least well-solved. Unlike VMware Workstation, VirtualBox, or Proxmox, Hyper-V ships with no native USB passthrough. There is no toggle to flip, no USB controller to assign from a GUI. What exists instead is a collection of partial workarounds, each with constraints that break down the moment your use case steps outside a narrow set of conditions.
This guide walks through every built-in method for Hyper-V USB passthrough, explains where each one fails, and presents USB Network Gate as the best solution for redirecting USB devices to Hyper-V without the usual trade-offs.
Why Hyper-V USB Passthrough Is So Difficult
Unlike many hypervisors, Hyper-V does not include native USB controller emulation, as its architecture prioritizes security isolation and performance for enterprise workloads. As a result, exposing host USB devices to guest VMs is not straightforward and requires workarounds, all of which involve trade-offs.
RDP-based methods (including Enhanced Session Mode) can redirect common peripherals such as drives, printers, and some USB devices, but they do not provide full USB passthrough, are primarily suited for Windows guests, and may not reliably support timing-sensitive or specialized hardware. Physical disk passthrough allows USB storage devices to be attached as raw disks, but this is limited to storage use cases and restricts features like checkpoints and live migration. Discrete Device Assignment (DDA) offers near-native performance by assigning an entire PCIe device to a VM, but it is limited to Windows Server, requires specific hardware, disables key VM features, and is not broadly supported for USB controllers.
In practice, each method addresses a narrow scenario, leaving gaps for more flexible or complex USB redirection needs.
Coolest Solution to Redirect USB Devices to Hyper-V: USB Network Gate
USB Network Gate is the best solution to redirect USB devices to virtual machines, operating above the hypervisor layer to eliminate the limitations of native methods. It shares USB devices over the network and allows a client inside the VM to connect to them as if they were locally available, without requiring any changes in Hyper-V Manager or specialized hardware.
USB Network Gate supports a wide range of USB devices, works seamlessly across both Windows client and server Hyper-V environments, and offers cross-platform compatibility including Windows, macOS, Linux, Android, and ARM-based systems. With built-in encrypted connections, it also helps ensure secure USB redirection across local and remote networks.
Because it does not rely on Hyper-V hardware passthrough, USB Network Gate avoids many of the constraints associated with built-in solutions, making it a flexible and practical choice for a variety of Hyper-V use cases. A 14-day trial is available, along with a free version for personal use and paid licenses for professional and enterprise deployments.
Key Advantages Over Built-In Methods
The vendor states that the software supports a wide range of USB devices, including dongles, sensors, webcams, printers, and HID devices. It operates independently of Hyper-V’s device class restrictions, though compatibility may vary by device and drivers.
USB Network Gate works with both Windows 10/11 client Hyper-V and Windows Server, without relying on features like DDA or specific hardware.
Server and client components are available for Windows, Linux, macOS, Android, and ARM-based platforms, enabling USB access in Linux and other non-Windows VMs.
Devices can be accessed over LAN, VPN, or other networks without being physically connected to the host. Performance depends on network conditions.
The vendor states that USB data is transmitted over encrypted connections, helping protect sensitive information.
Since it does not use hardware passthrough, it does not inherently disable features like live migration or checkpoints, though active sessions may be affected by network or VM state changes.
How to Redirect USB Devices to Hyper-V with USB Network Gate
Setup requires no changes to Hyper-V and consists of three basic steps:
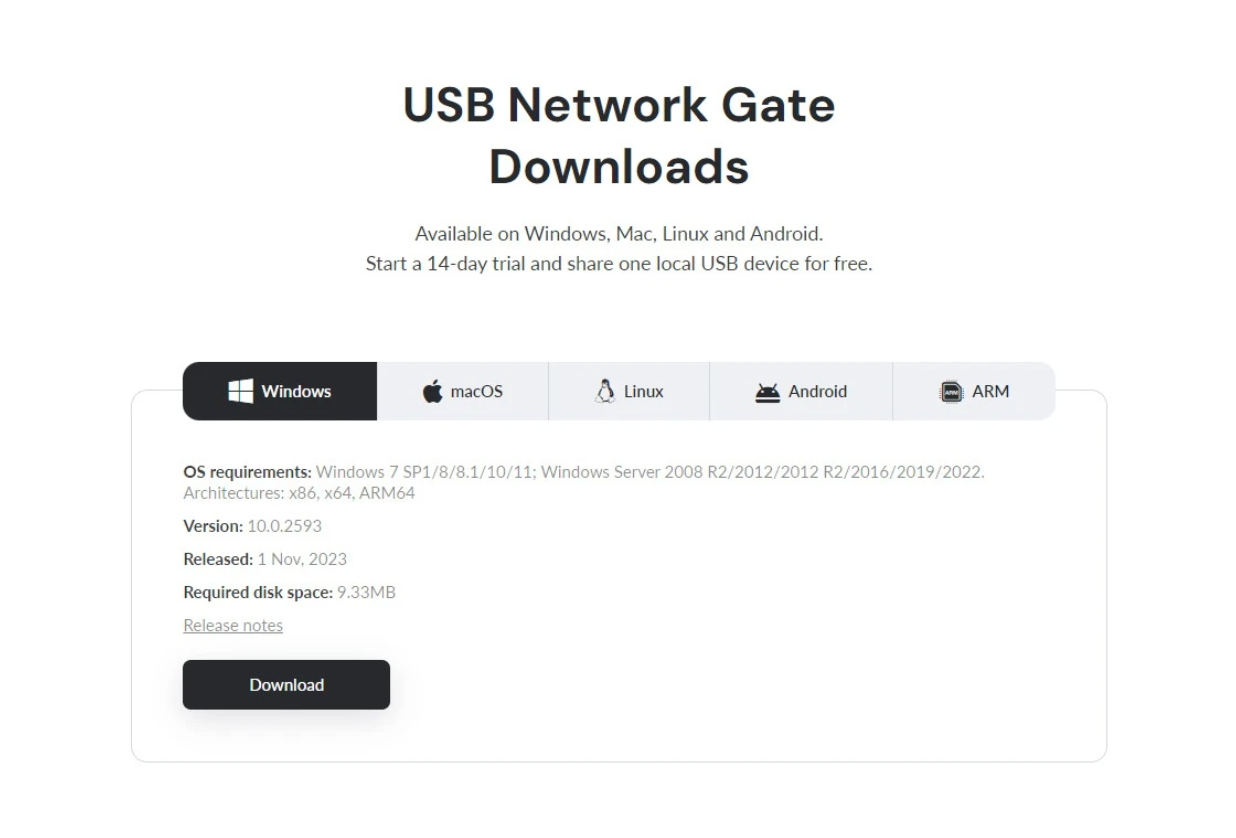
- Install USB Network Gate
Install the software on:
- the machine physically connected to the USB device (server node)
- the Hyper-V virtual machine (client node)
- Share the device
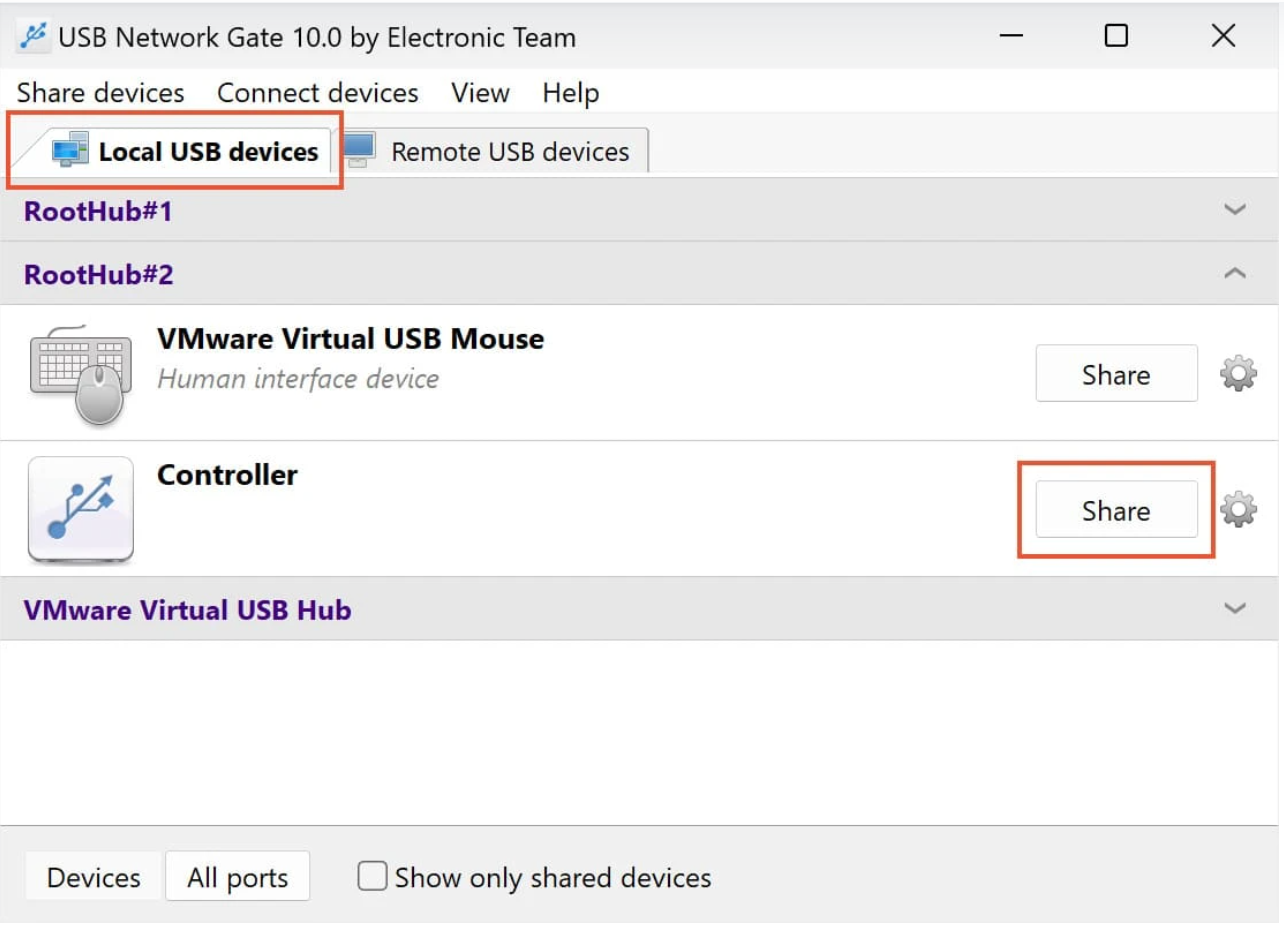
On the server node, open the application, locate the USB device, and click Share.
- Connect from the VM
Inside the VM, open USB Network Gate, locate the shared device, and click Connect.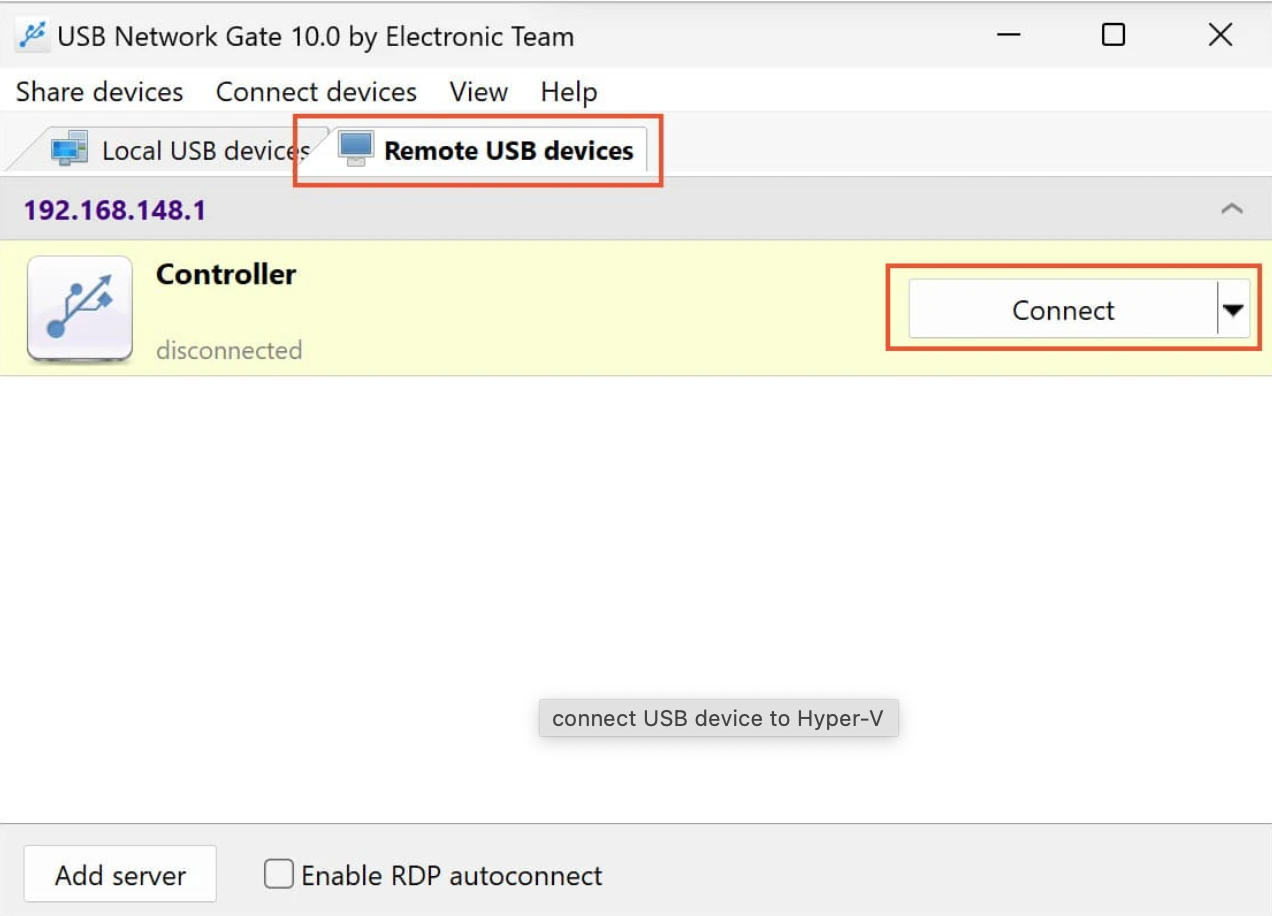
The guest OS will load the appropriate driver, and the device will appear in Device Manager as if locally attached.
Final Thoughts
Hyper-V’s built-in USB redirection methods work well in specific scenarios, but none offer a universal solution. As soon as requirements extend beyond standard setups, such as non-Windows guests, specialized USB devices, or remote access, their limitations become clear.
USB Network Gate provides a more flexible alternative by enabling USB access over the network without relying on Hyper-V passthrough. It works across different environments and use cases, making it one of the most practical options for redirecting USB devices to Hyper-V.
FAQ
Remote Desktop Protocol can redirect common peripherals (drives, printers, audio, some USB devices) into a VM session.
However, it does not provide full USB passthrough and is mainly suited for Windows-to-Windows use. Device support depends on RDP capabilities, and performance can vary with network conditions. Timing-sensitive or specialized USB devices may not work reliably.
Enhanced Session Mode uses an embedded RDP connection in VMConnect to enable device redirection without a separate client.
It shares the same limitations as RDP, including limited device compatibility and primary support for Windows guests. It is useful for setup and basic use, but not a general USB passthrough solution.