

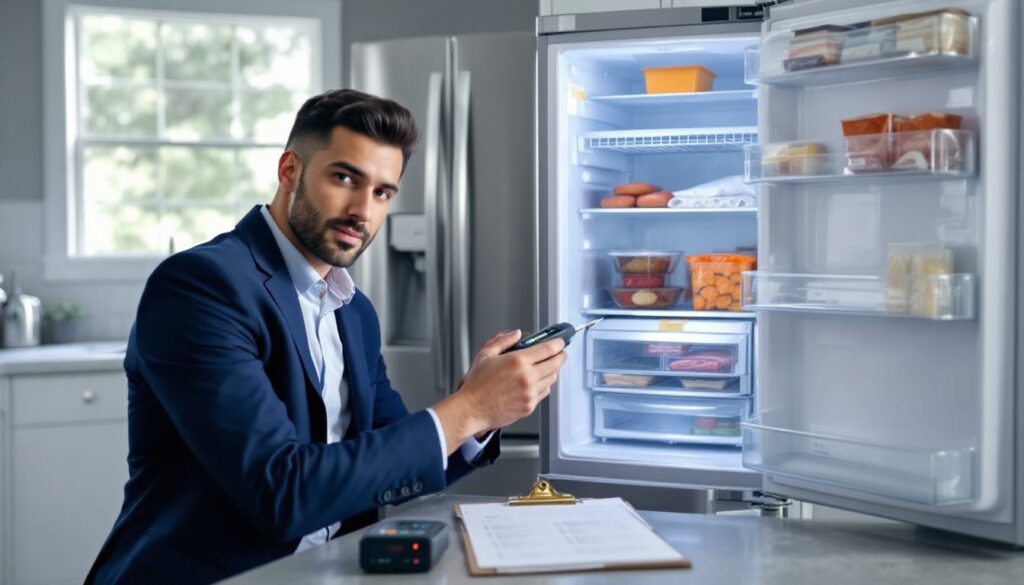
They’ve been optimizing gear for frames and ping, now it’s time to optimize the snack supply. Knowing where a freezer is coldest matters whether someone wants rock-solid ice for a controller-cleaning trick or to store perishables that require steady sub-zero temps. This 2026 guide cuts through myths and explains, in simple terms, how freezers distribute cold, where the reliably cold pockets are across common models, and how to measure them yourself. No fluff, just the practical spots and steps people can use right now.
Key Takeaways
- The coldest spot in a freezer typically lies near the evaporator on the back wall or in lower rear corners, where direct conduction and cold airflow converge.
- Freezer type influences cold spot location: top-freezers are coldest at the upper back, bottom-freezers near the lower rear drawer, chest freezers in bottom back corners, and uprights along the back wall.
- To identify the coldest area yourself, use digital thermometers with probes placed in strategic freezer spots, allowing the temperature to stabilize for 30–90 minutes before recording.
- Avoid overloading your freezer and blocking vents to maintain good airflow, which helps preserve the coldest zones efficiently for perishables and ice packs.
- Chest freezers provide the most temperature stability with fewer fluctuations during door openings and defrost cycles, making them ideal for sensitive items.
- Position frequently accessed items near the front or door to avoid exposing sensitive goods to temperature swings, storing long-term frozen goods where the coldest and most stable temperatures are measured.
How Freezers Create Cold Spots: Basics Of Temperature Distribution
Freezers don’t produce a single uniform temperature: they create a thermal map shaped by airflow, insulation, the evaporator location, and user behavior. Cold air is denser and tends to sink, so gravity and airflow patterns matter. In many modern designs the evaporator coil (the cold plate) and the fan location determine where the coldest air is pushed and where it pools.
Two main mechanisms form cold spots:
- Direct conduction from cold surfaces: Items touching the back wall or floor that are nearest the evaporator get cooled fastest.
- Convective air movement: Fans circulate cold air: where the airflow stalls or recirculates, temperatures can dip or rise.
Other factors that create variation:
- Defrost cycles: Frost-free freezers periodically stop cooling to melt frost. During those short intervals the coldest spots warm slightly, then re-freeze. This introduces small cyclical temperature swings.
- Compressor and thermostat placement: If the thermostat sensor is away from the coldest pocket, the unit may overshoot or undershoot the desired setting, shifting the cold spots.
- Load and door openings: A packed freezer holds cold better: frequent door openings drag warm air in and change the map.
In short: the coldest areas are where cold surfaces meet stagnant air or where the fan directs the coldest airflow. That’s the physical reality behind the warm-and-cold spots players notice when hunting for perfect ice or keeping perishable game-day food safe.
Typical Coldest Areas In Common Freezer Types (Top, Bottom, Chest, And Drawer Models)
Freezer layout strongly influences where the low-temperature zones sit. Here are the usual coldest spots by model, with behavior notes useful for gamers who stash drinks, snacks, or specialty items like cryo packs for controllers.
Top-freezer refrigerators (common in apartments):
- Coldest spot: Back wall near the evaporator (upper rear). Items placed directly against the rear panel or in the top shelf’s back tend to be coldest.
- Notes: Cold air falls from the top: the bottom shelf is slightly warmer. Don’t block vents with bags, that starves the rest of the unit of airflow.
Bottom-freezer or bottom-mount fridges (drawer or pull-out):
- Coldest spot: Lower rear section and corners near the evaporator, often inside the pull-out drawer’s back.
- Notes: Drawers can create microclimates: bulk items near the back stay frozen longest. Avoid stacking warm groceries up front.
Chest freezers (horizontal lid):
- Coldest spot: Bottom and far back corners, typically the lowest point away from the lid hinge. Cold air sinks and collects there.
- Notes: Chest freezers are the most temperature-stable (less affected by door openings) but they’ll have temperature gradients: top center may be a touch warmer than bottom back.
Upright freezers (tall, single-door):
- Coldest spot: Back wall, especially shelves or bins touching the rear panel: sometimes the top shelf if the evaporator is mounted high.
- Notes: Uprights lose more cold during door openings: use the door for less temperature-sensitive items like ice packs.
Drawer-style and column freezers (precision models):
- Coldest spot: Varies by design. For frost-free drawer units, the compartment closest to the evaporator housing, often a rear or lower drawer, wins.
- Notes: Performance varies by brand and year. Newer 2024–2026 models use multi-zone sensors to equalize temps, reducing extreme pockets.
Platform-specific tip: On large consoles or PC bench days, players who keep performance cooling gels or nitrogen packs in domestic freezers should use chest freezers or the back of top-freezers for most stable sub-zero storage.
How To Measure And Identify The Coldest Spot Yourself
A precise readout beats guessing. Gamers appreciate tools and numbers, here’s how to map a freezer like a pro, with inexpensive gear and repeatable steps.
What to use:
- Digital thermometer with probe or multiple probe thermometers (±0.1–0.5°C accuracy). A small USB data-logger with external probes is ideal for time-based charts.
- Optional: infrared thermometer for surface checks and a clipboard to note locations.
Step-by-step test (30–90 minutes):
- Empty or rearrange: Remove perishable items from test spots or note original positions. A light, open layout gives more reliable airflow data.
- Place probes: Put probes against the back wall, middle shelf, front shelf, bottom, and door. For chest freezers add a probe at the bottom back corner. Tape probes so they contact surfaces but don’t block airflow.
- Close the door and wait: Let the unit run undisturbed for 30–60 minutes. For chest units, allow 60–90 minutes for stable stratification.
- Record temps: Use the logger or thermometer to note steady-state temperatures. If using a logger, review the graph for spikes (defrost cycles) or slow drifts.
- Repeat after normal use: Test again after a typical door-opening session (e.g., open for 20 seconds every 10 minutes for half an hour) to see which spots recover fastest.
Interpreting results:
- The coldest steady reading is the prime storage location for items needing the lowest temp (e.g., ice cream, long-term frozen goods).
- If one spot oscillates strongly during defrost cycles, don’t rely on it for freeze-sensitive items: use the most stable low-temp zone instead.
Practical placement rules (quick checklist):
- Put quick-freeze needs against the back wall or bottom-rear in chests.
- Store frequently accessed items near the front or door, they experience more temperature swings.
- Leave small gaps between items to allow airflow: overstuffing blunts the coldest spots.
This method gives objective data rather than guessing where it feels cold. It’s the same kind of measurement-minded approach a competitive gamer would take to tune settings, but for temps instead of framerates.
Conclusion
Freezer cold spots follow predictable physics: evaporator placement, airflow, and gravity. For most units, the back wall and low corners are the coldest, with chest freezers offering the most stable sub-zero zones. Measuring with probes or a data logger delivers definitive answers and helps decide where to store everything from ice packs to freeze-sensitive food. They’ll get the most reliable results by combining placement rules with one quick test session, then arranging items based on how often they open the door. Practical, repeatable, and easy, like a tuned control setup for the kitchen.