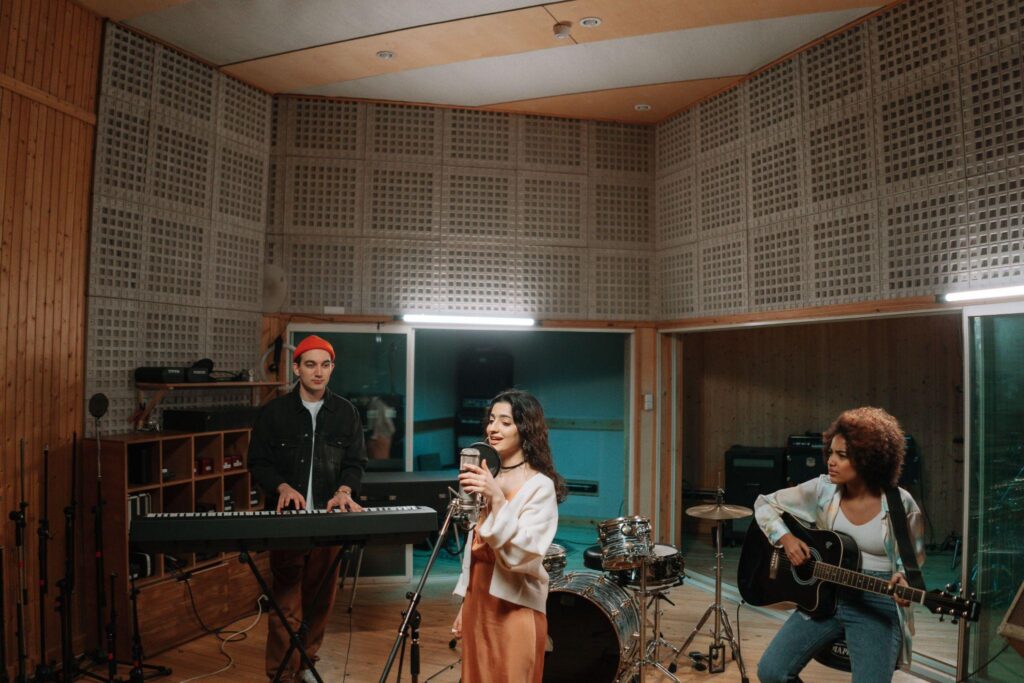
Getting a pristine mix requires more than just high-end microphones and expensive studio monitors. If your room is echoing, muddy, or plagued by strange ringing frequencies, your gear cannot do its job properly.
Achieving a professional sound requires balancing how frequencies behave inside your room. True acoustic treatment alters the physical environment to let you hear exactly what is coming out of your speakers.
Why Raw Talent Needs an Optimized Room
Every room has a distinct sonic fingerprint. Without professional acoustic intervention, you are essentially mixing with a blindfold on. Sound waves bounce off hard parallel walls, creating phase cancellation and artificial frequency boosts that ruin your tracking.
Investing in a specialized acoustic treatment company for recording studios eliminates the guesswork. It ensures that a mix created in your studio translates perfectly to car speakers, headphones, and massive club sound systems.
The Big Three: Core Components of Studio Treatment
Professional studio design relies on a strategic combination of absorption and diffusion. Placing generic foam panels on the walls rarely solves deep acoustic issues. High-quality treatment targets the full frequency spectrum using specific, purpose-built tools.
1. Bass Traps for Low-End Clarity
Low frequencies are long, powerful sound waves that collect aggressively in corners. This creates a muddy “boominess” that masks your mid-range details.
- Placement: Must be installed directly in vertical and horizontal corners.
- Material: Heavyweight, high-density core materials like rockwool or dense fiberglass.
- Benefit: Tightens up kick drums and bass guitars so you can accurately judge the low-end balance.
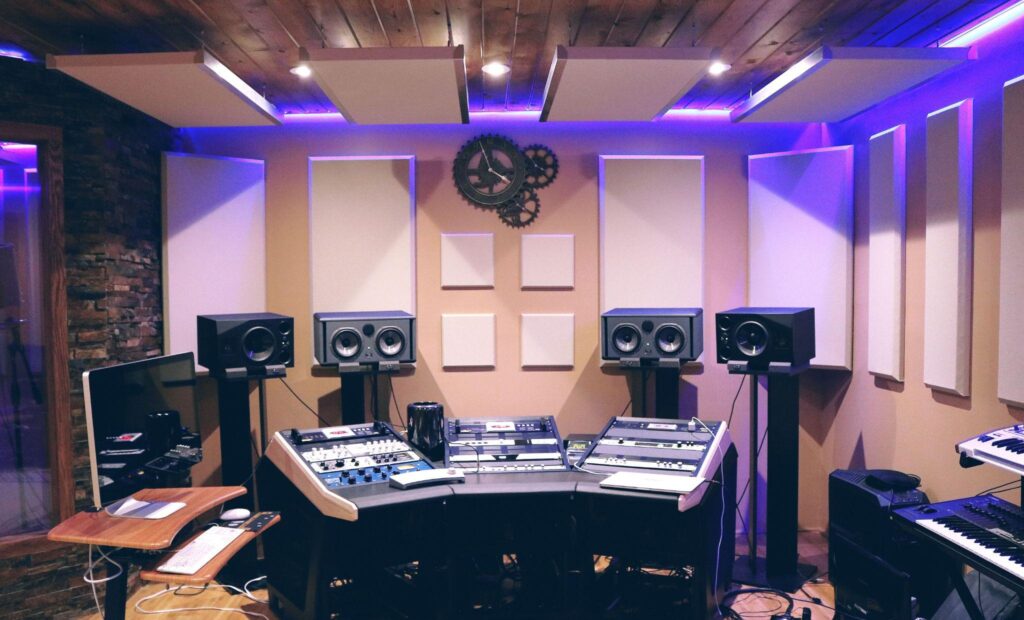
2. Acoustic Panels at Reflection Points
When sound leaves your studio monitors, it travels directly to your ears, but it also strikes the side walls and bounces back toward you milliseconds later. This creates a phenomenon known as “comb filtering.”
- The Mirror Trick: Sit at your mixing desk and have someone slide a mirror along the side wall. Wherever you see the reflection of your monitor speaker is an early reflection point that requires an acoustic panel.
- Thickness: Minimum 50mm to 100mm fabric-wrapped panels are recommended to absorb mid-to-high frequencies effectively.
3. Diffusers for Natural Air and Space
Deadening a room completely creates an unnatural, uncomfortable environment for tracking vocals and acoustic instruments. Diffusers do not absorb sound; they scatter it in random directions.
- Application: Usually placed on the rear wall behind the mixing position or on high ceilings.
- Result: Breaks up slap echoes while keeping the room sounding lively, wide, and natural.
Step-by-Step: The Professional Studio Layout
Setting up a recording space requires a systematic approach. Misplacing premium panels will yield poor results, whereas an optimized layout maximizes your investment.

Phase 1: Perfecting the Listening Position
- The 38% Rule: Position your listening chair roughly 38% of the way into the room’s total length from the front wall. This minimizes the impact of natural room nodes.
- Equilateral Triangle: Your head and the two studio monitors must form a perfect equilateral triangle. Angle the speakers inward directly toward your ears.
- Orientation: Always orient your studio desk to face the shorter wall, letting the longer length of the room extend behind you.
Phase 2: Installing the Treatment
- Mount Corners First: Install your thickest bass traps in the front corners behind the speakers.
- Secure Side Reflection Points: Hang acoustic panels on the left and right walls to clear up the stereo image.
- Add a Cloud Panel: Hang an acoustic panel directly suspended from the ceiling between your head and the monitors to catch vertical reflections.
- Treat the Back Wall: Place a combination of diffusion and absorption on the rear wall to handle reflections traveling from the front of the room.
Common Acoustic Pitfalls to Avoid
Many producer-creators waste time and money on DIY fixes that do not deliver professional results. Avoiding these standard mistakes keeps your project on track.
- Relying on Thin Foam: Cheap egg-carton foam only absorbs ultra-high frequencies. It leaves your low-mid and bass frequencies completely untouched, making your room sound dull yet boomy.
- Over-Treating the Space: Gluing acoustic panels across 100% of your walls creates a claustrophobic, lifeless space. A balanced studio typically requires only 30% to 50% wall coverage.
- Ignoring the Floor: Hardwood and concrete floors reflect sound intensely. Placing a thick, dense rug directly beneath your desk and chair helps catch early desk reflections.
Tailoring Treatment to Your Specific Tracking Needs
The type of recording you do dictates how your space should be acoustically tuned. A voiceover artist requires a completely different sonic environment than a live rock band.
|
Studio Type |
Primary Treatment Goal |
Key Component |
|
Voiceover & Podcasting |
Complete deadness, zero room tone |
Thick fabric-wrapped wall panels |
|
Mixing & Mastering |
Flat frequency response, perfect imaging |
Corner bass traps & ceiling clouds |
|
Live Tracking Rooms |
Controlled ambiance, no harsh echoes |
Wooden diffusers & modular gobos |
Conclusion
Great gear can only take your music so far. If your room is fighting against your monitors, your mixes will always face translation issues outside of your studio. By treating your corners, taming your early reflections, and keeping a touch of natural diffusion, you create an environment where what you hear is exactly what you get.
Investing the time to properly measure, position, and treat your studio space is the single best upgrade you can give your audio career. Turn your room into a true precision tool, and let your productions shine.